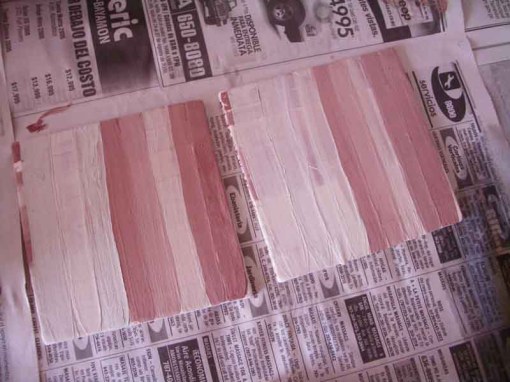
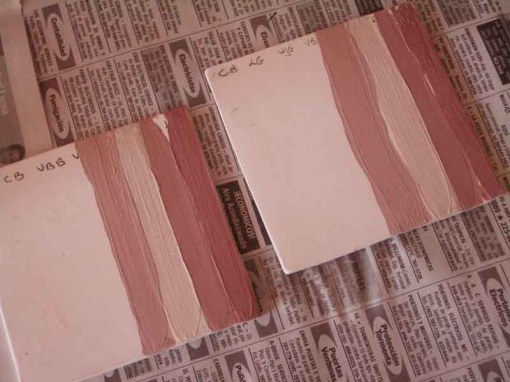
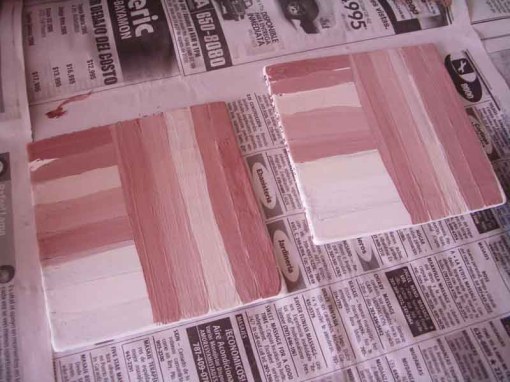
My glazing is all done and today I’ll load and fire a glaze kiln for the second time! Very exciting. This time, in addition to larger wares and the usual test tiles (vertical pieces of bisqued clay dipped in glaze) I’ve included another method of glaze testing I came across a few years ago. I imagine other potters have used this technique but I first saw it described in Greg Daly‘s book “Glazes and Glazing Techniques”. This article provides more information about Greg Daly’s approach to glaze development. But in a nutshell, the tile the technique involves brushing each glaze in a line across the tile then turning the tile 90º and repeating the order across the tile. The end result is every glaze over and under every other glaze. Obviously, the wider the stripes of glaze, the more information you get. With 11 glazes to test, I split the brand new ones across two tiles. I wrote the names of the glazes in iron oxide on the side of the tile (the pencil marks were just an application aid) for ease of interpretation later on (and yes, I also wrote the glaze order down in my trusty notebook!).
I’ve done a similar grid once before and “discovered” a few glaze combo gems I might not have thought to try. Yes, its slightly tedious to do but definitely a way to get a lot of information without having to sacrifice lots of pots. I did, however, chuckle at Greg’s suggestions that one not “launch straight into glazing pots, as practice is needed to develop a new idea.” Practice? Pshaw! Pretty much everything in my kiln is experimental. I’ll have results to report over the weekend. Hopefully, at least some will be to my liking! 🙂
Working on the top layer of glazes

All done!


Aug 26, 2009 at 7:50 am
Tis exciting alright, and the Kaiser Chiefs are on at my place, thanks for the suggestion!
Aug 26, 2009 at 10:22 am
tis an ingenious method and surely beats the long drawn out what of getting 11 tiles with the undercoat and then 10 different glazes over on and on and on. i’m curious to see what the results are.
Aug 26, 2009 at 2:34 pm
Yep. 64 test tiles worth from an 8×8 grid. Tedious, but less tedious than actually making 64 test tiles!
Sep 12, 2009 at 11:48 am
I’m really interested to see how these looked after firing… Any pics?
Sep 12, 2009 at 3:44 pm
Just posted one for you.